❯
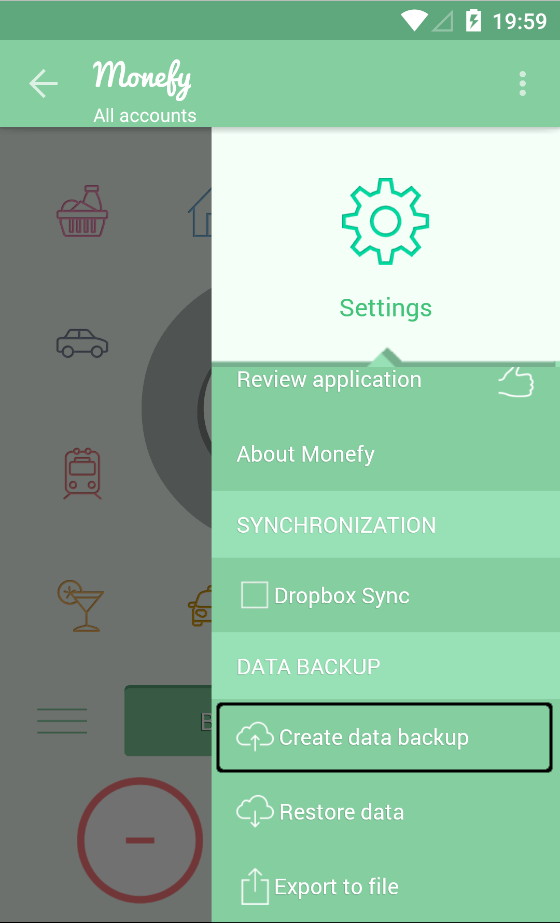
Steps to create a database backup:
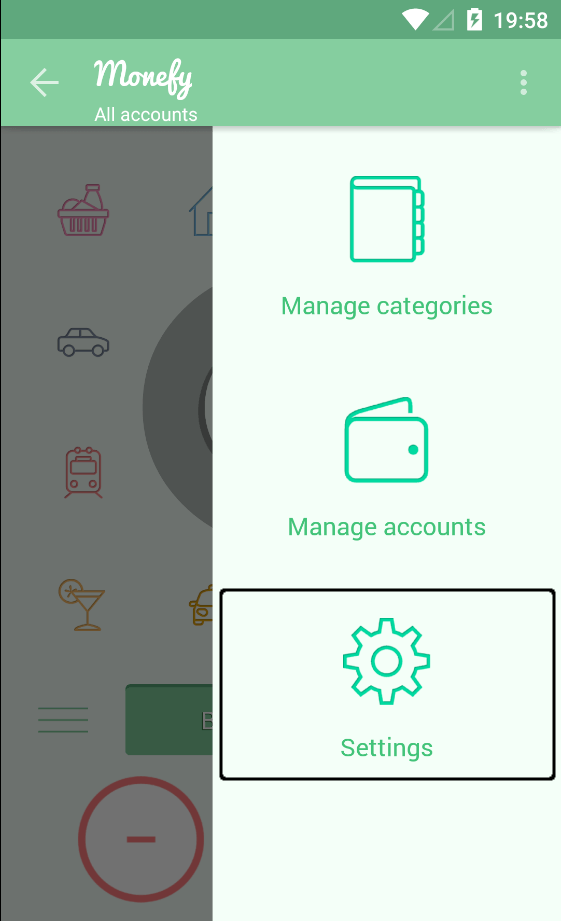
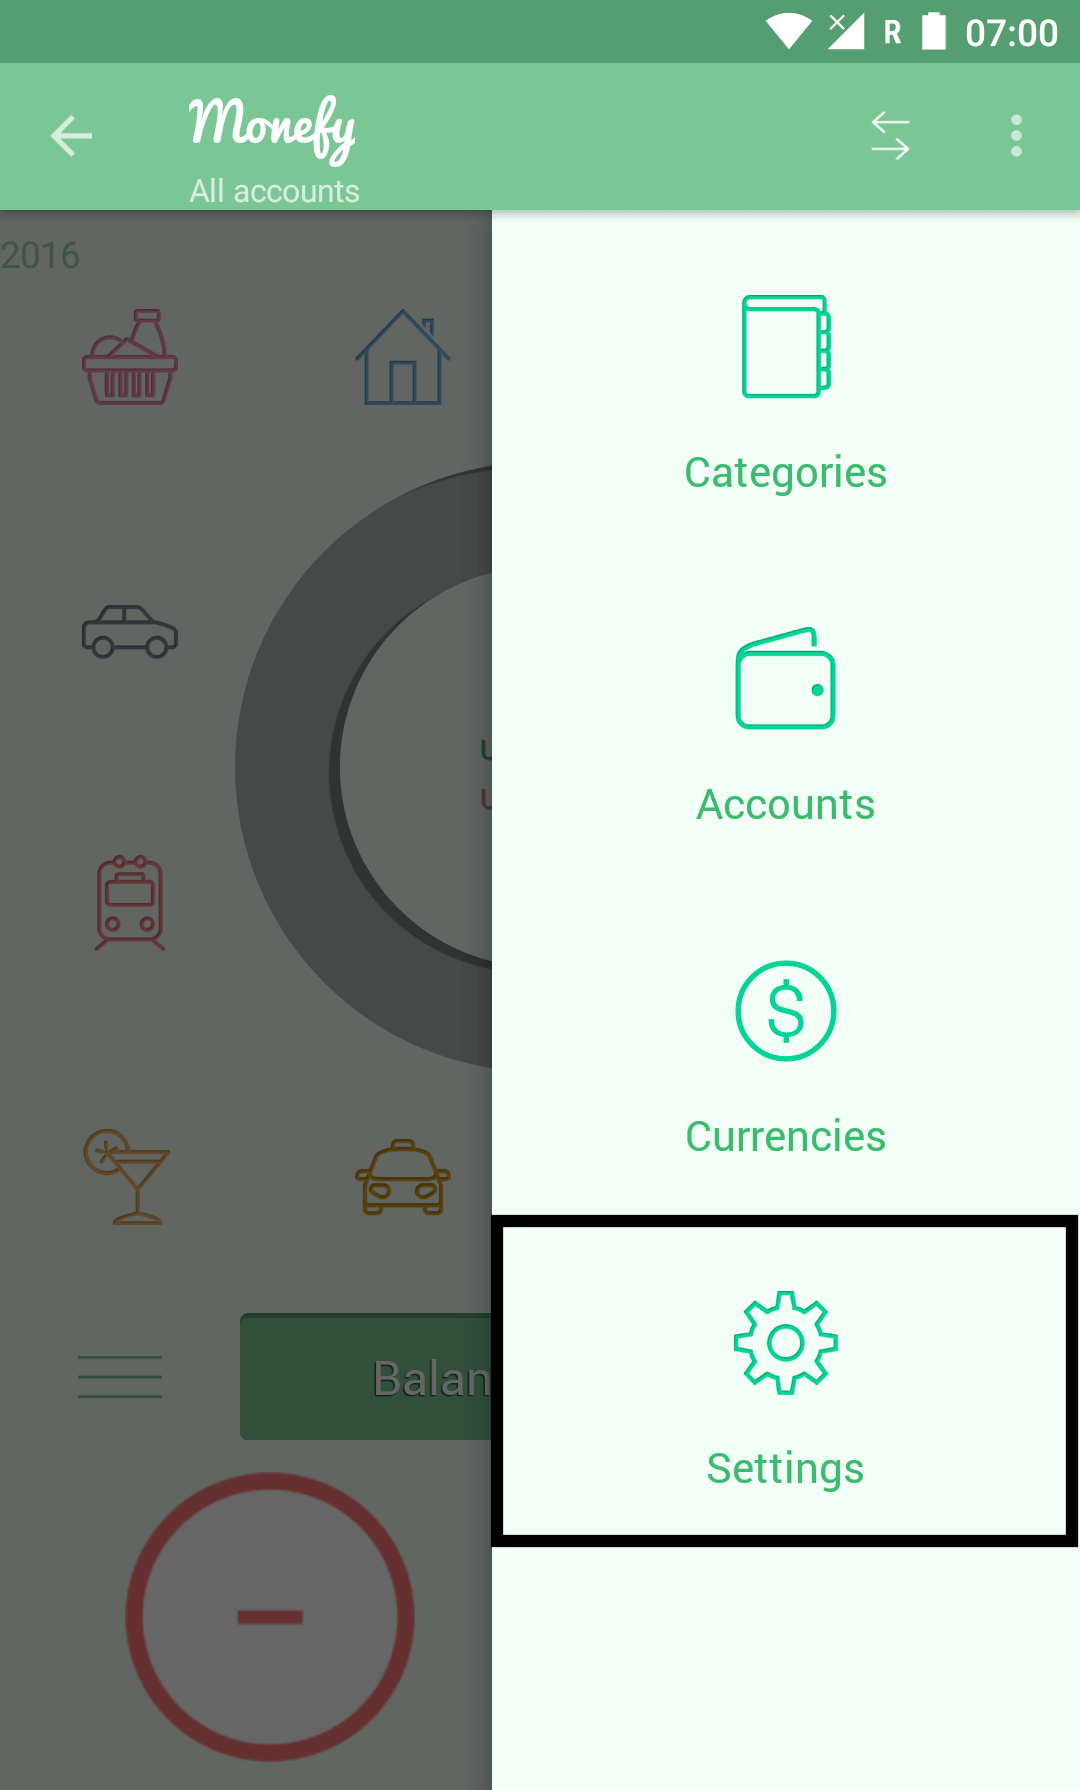
- Open up the menu, by tapping on the menu icon in the top right corner;
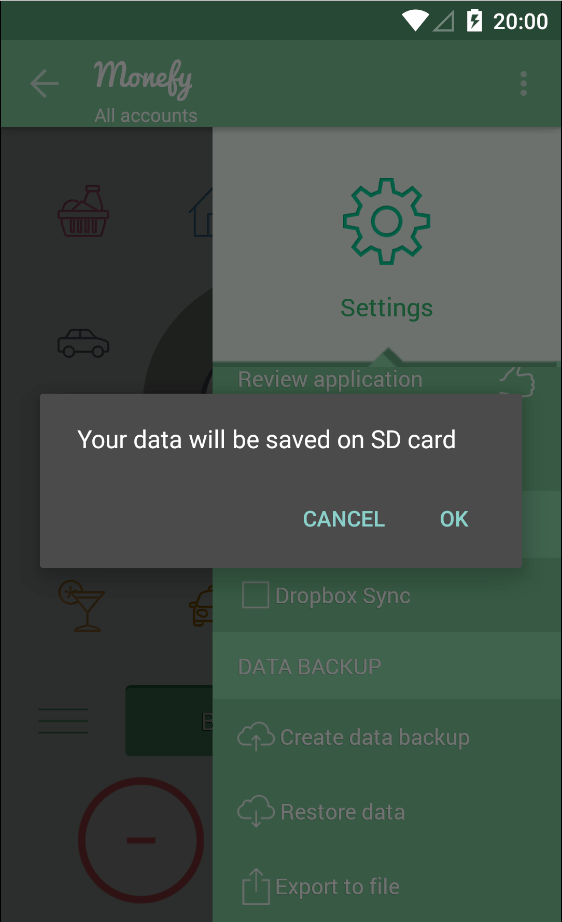
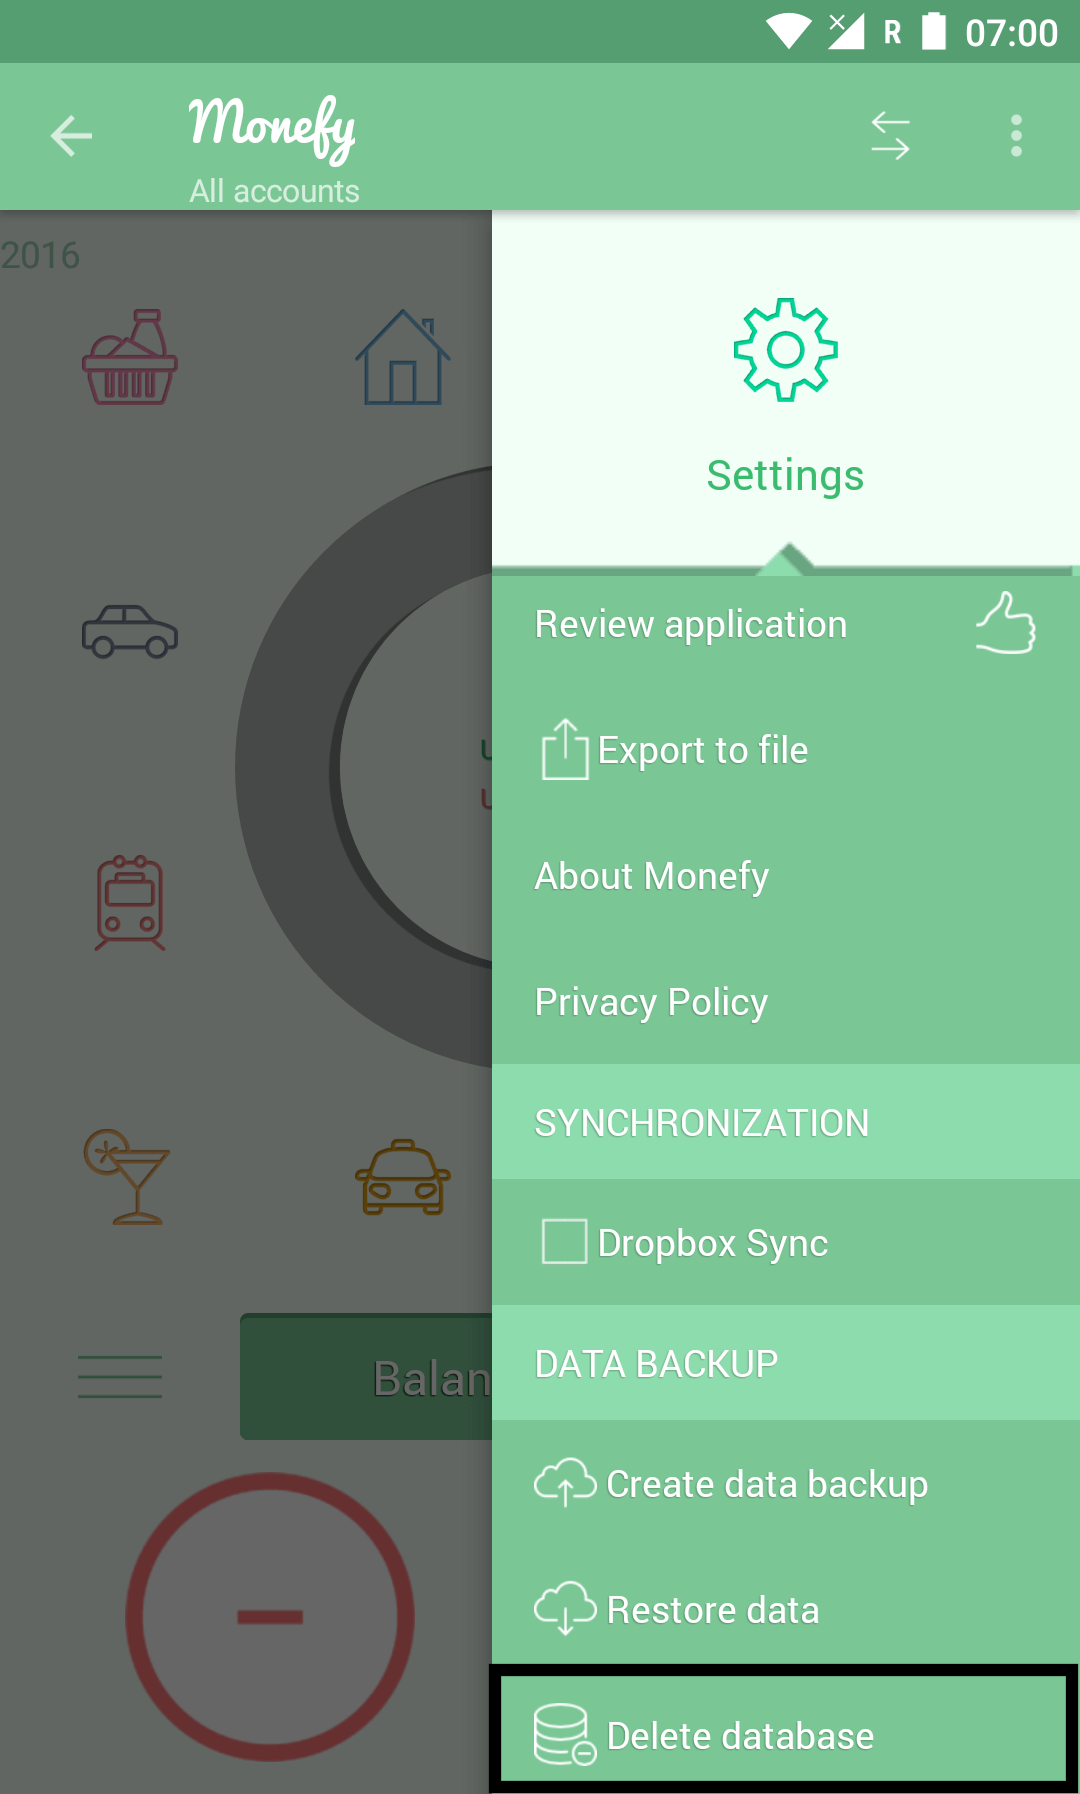
- Click on the settings tab and tap on the “Create data backup” menu item under “DATA BACKUP” section;
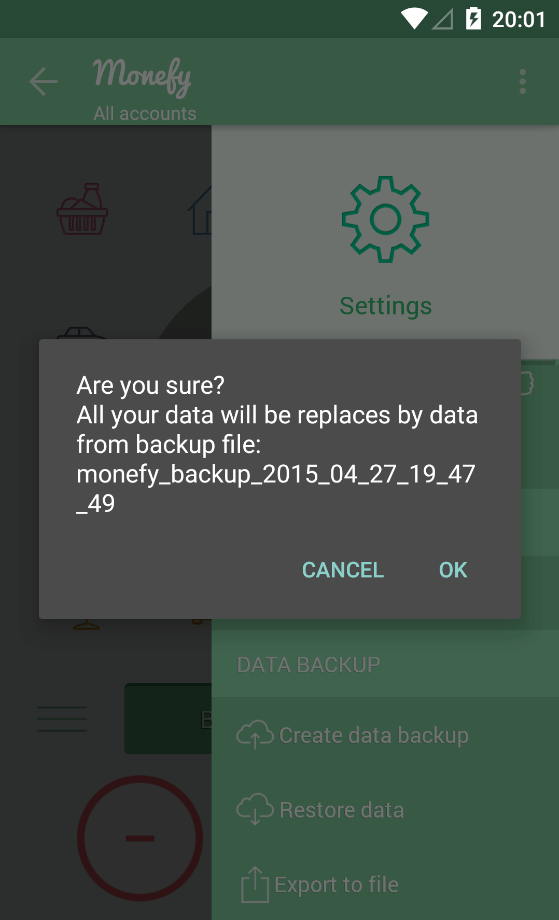
- Click on the “OK” button.
❯
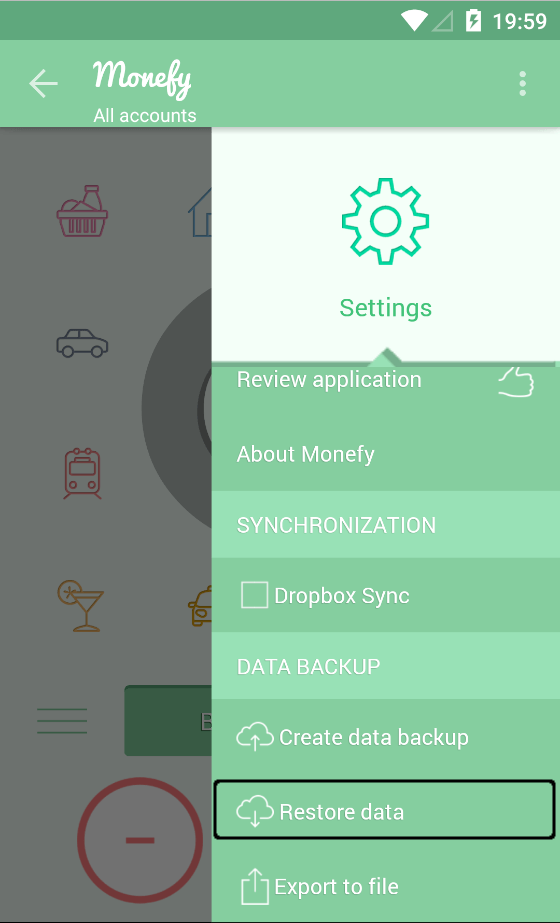
Steps to restore data from a backup:
- Open up the menu, by tapping on the menu icon in the top right corner;
- Click on the settings tab and click on the “Restore data” menu item under “DATA BACKUP” section;
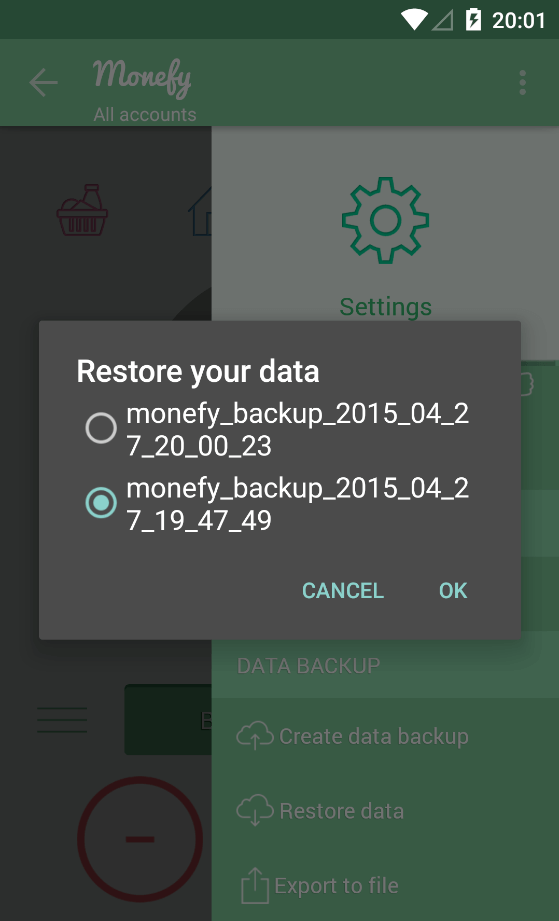
- Select the data file that you wish to restore;
- Click on the “OK” button.
❯
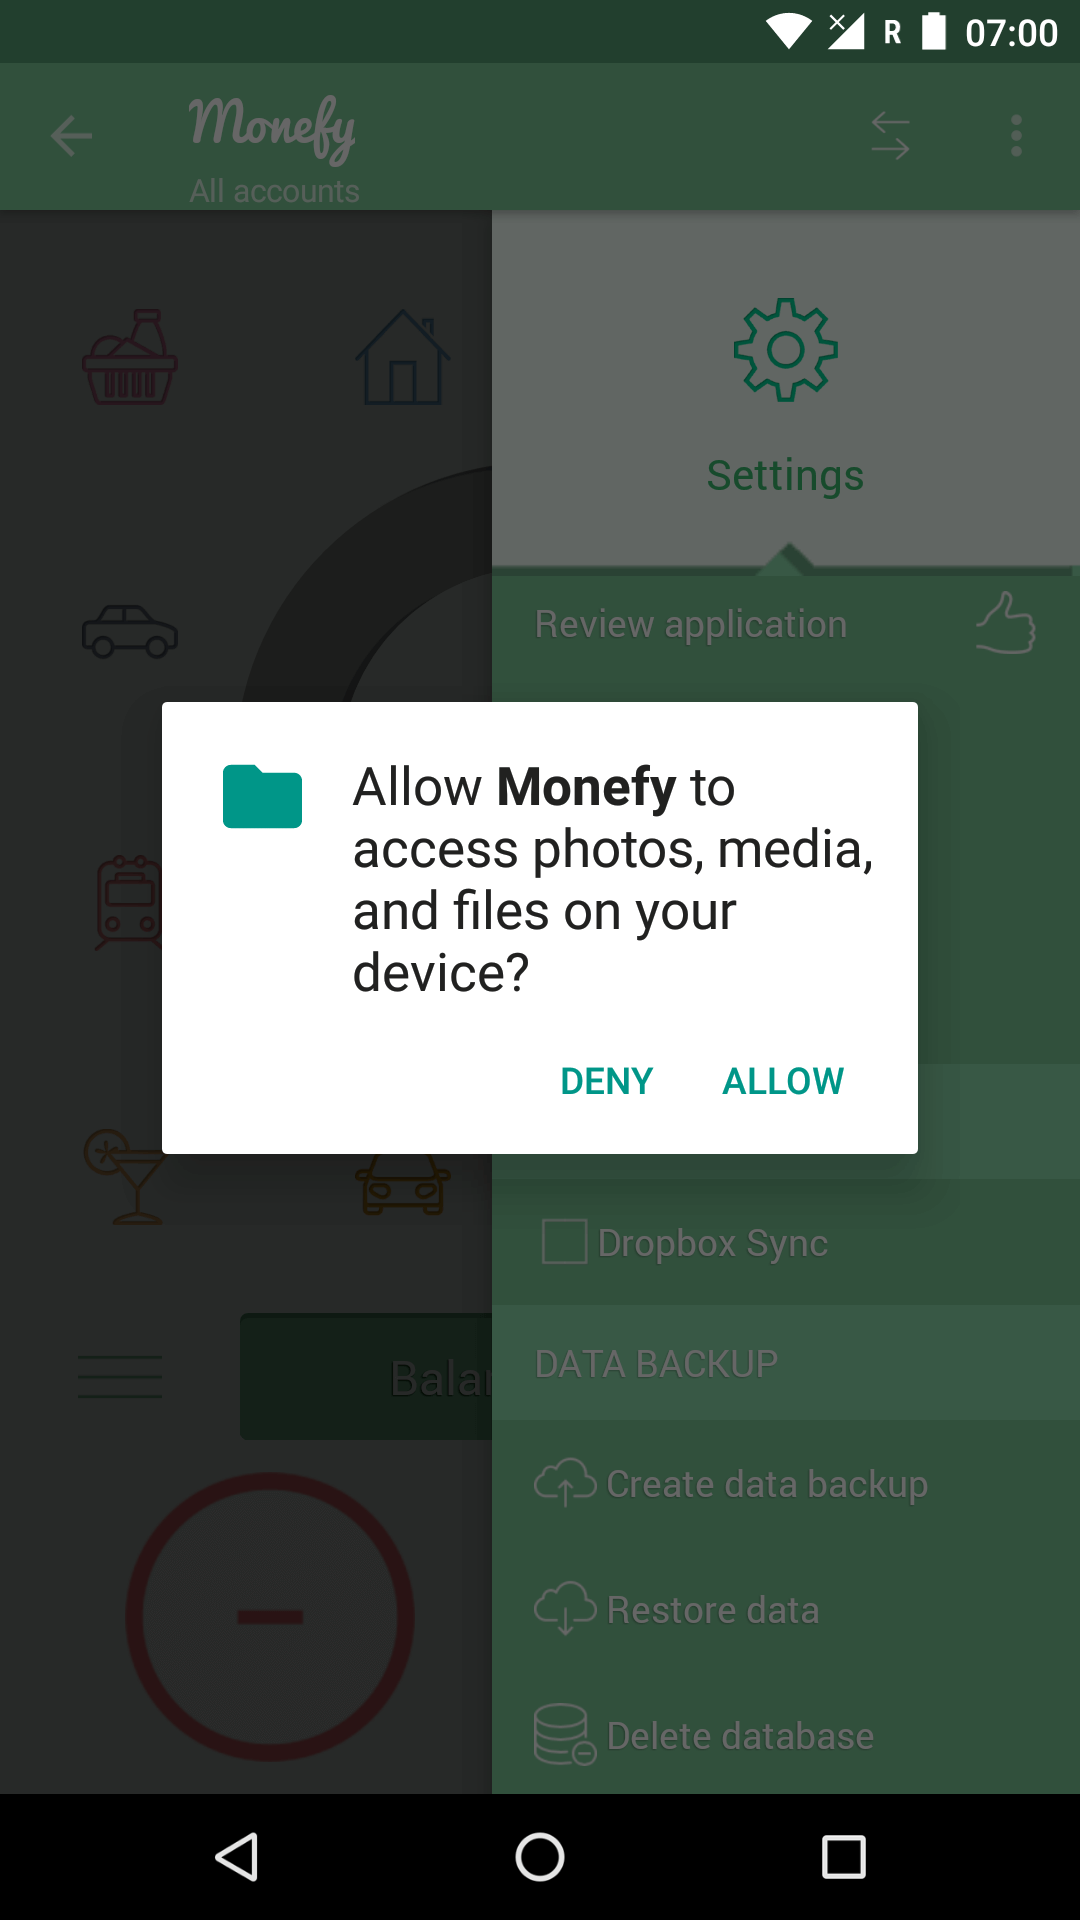
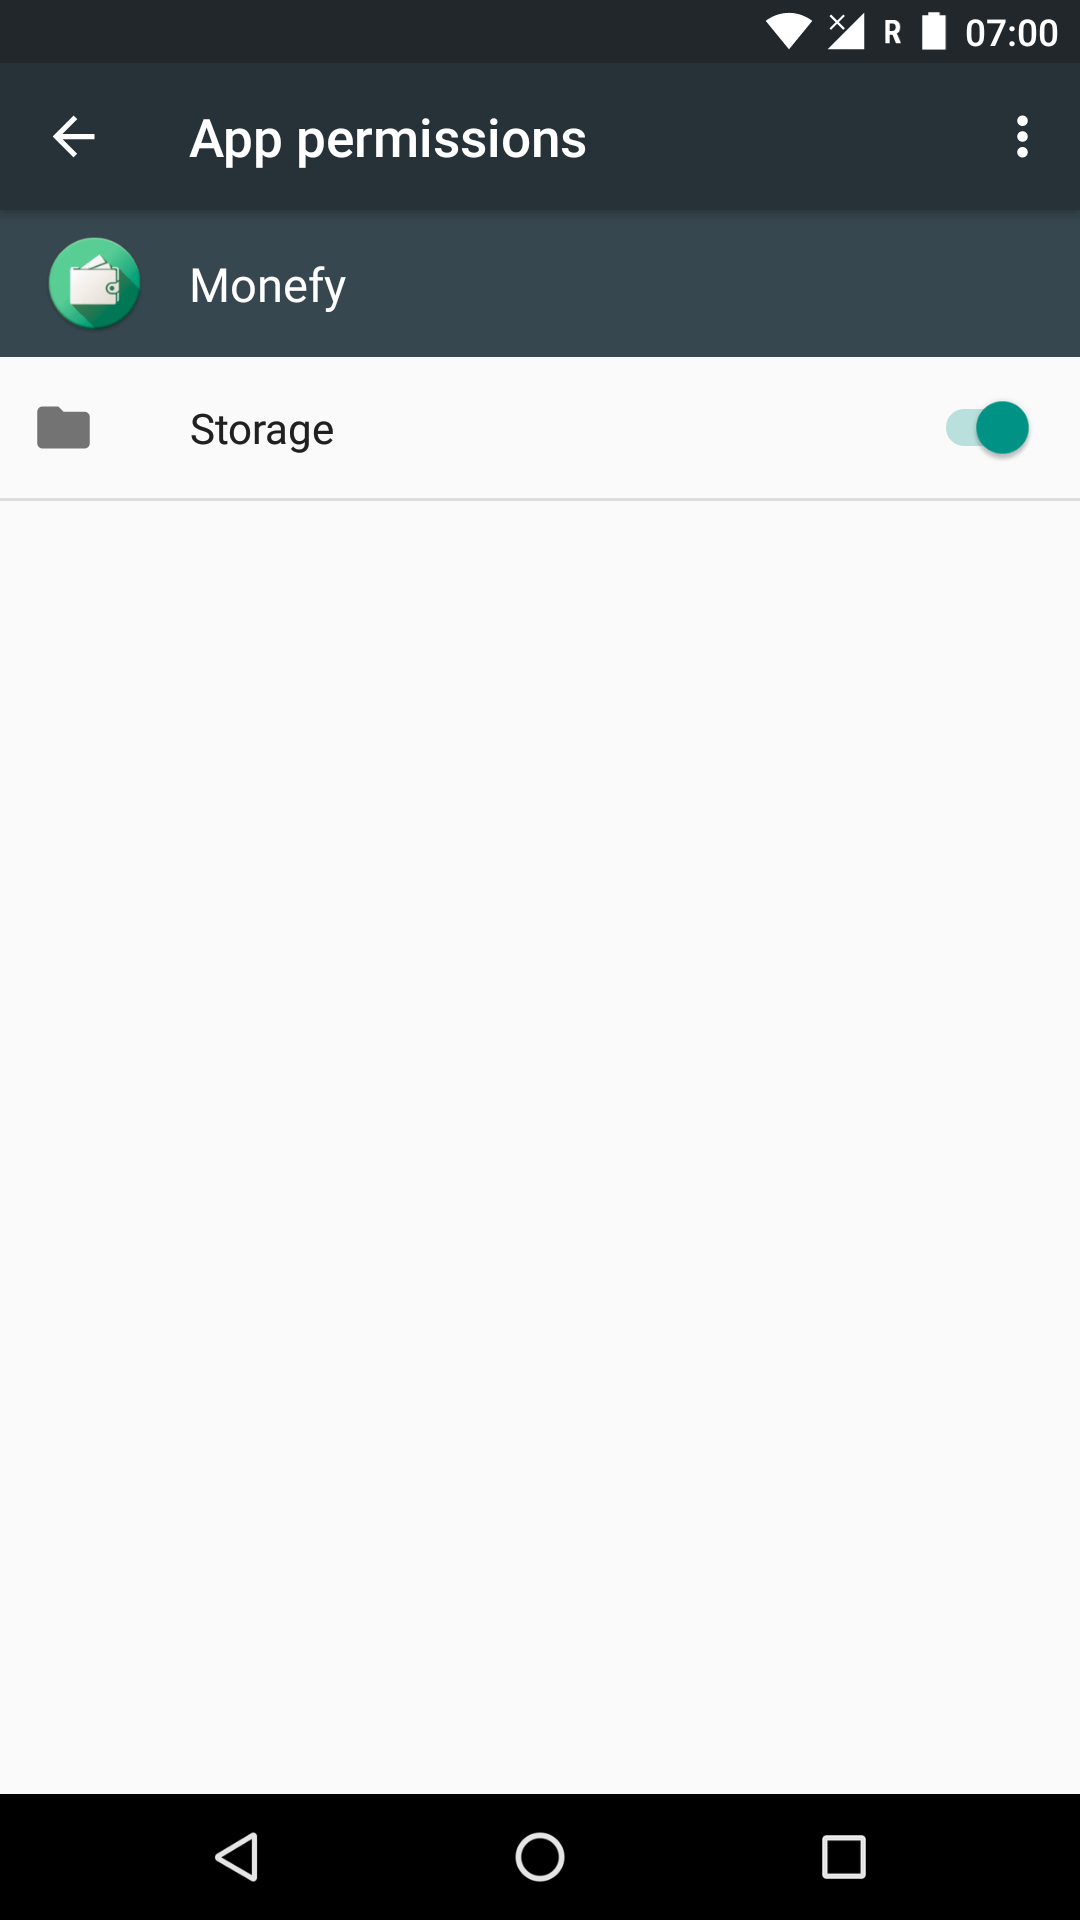
If you are using the application on Android 6.0 and up, Monefy will request permissions to access storage. If access was denied Backup and Restore functionality won’t work.
To be able to fix this issue please follow “Settings” -> “Apps” -> “Monefy” -> “Permissions”. Please visit this link for more information.
❯
When using Monefy for the first time, the app will try to determine the language that should be used based on your device settings. However, if you wish to modify this setting you can easily do so.
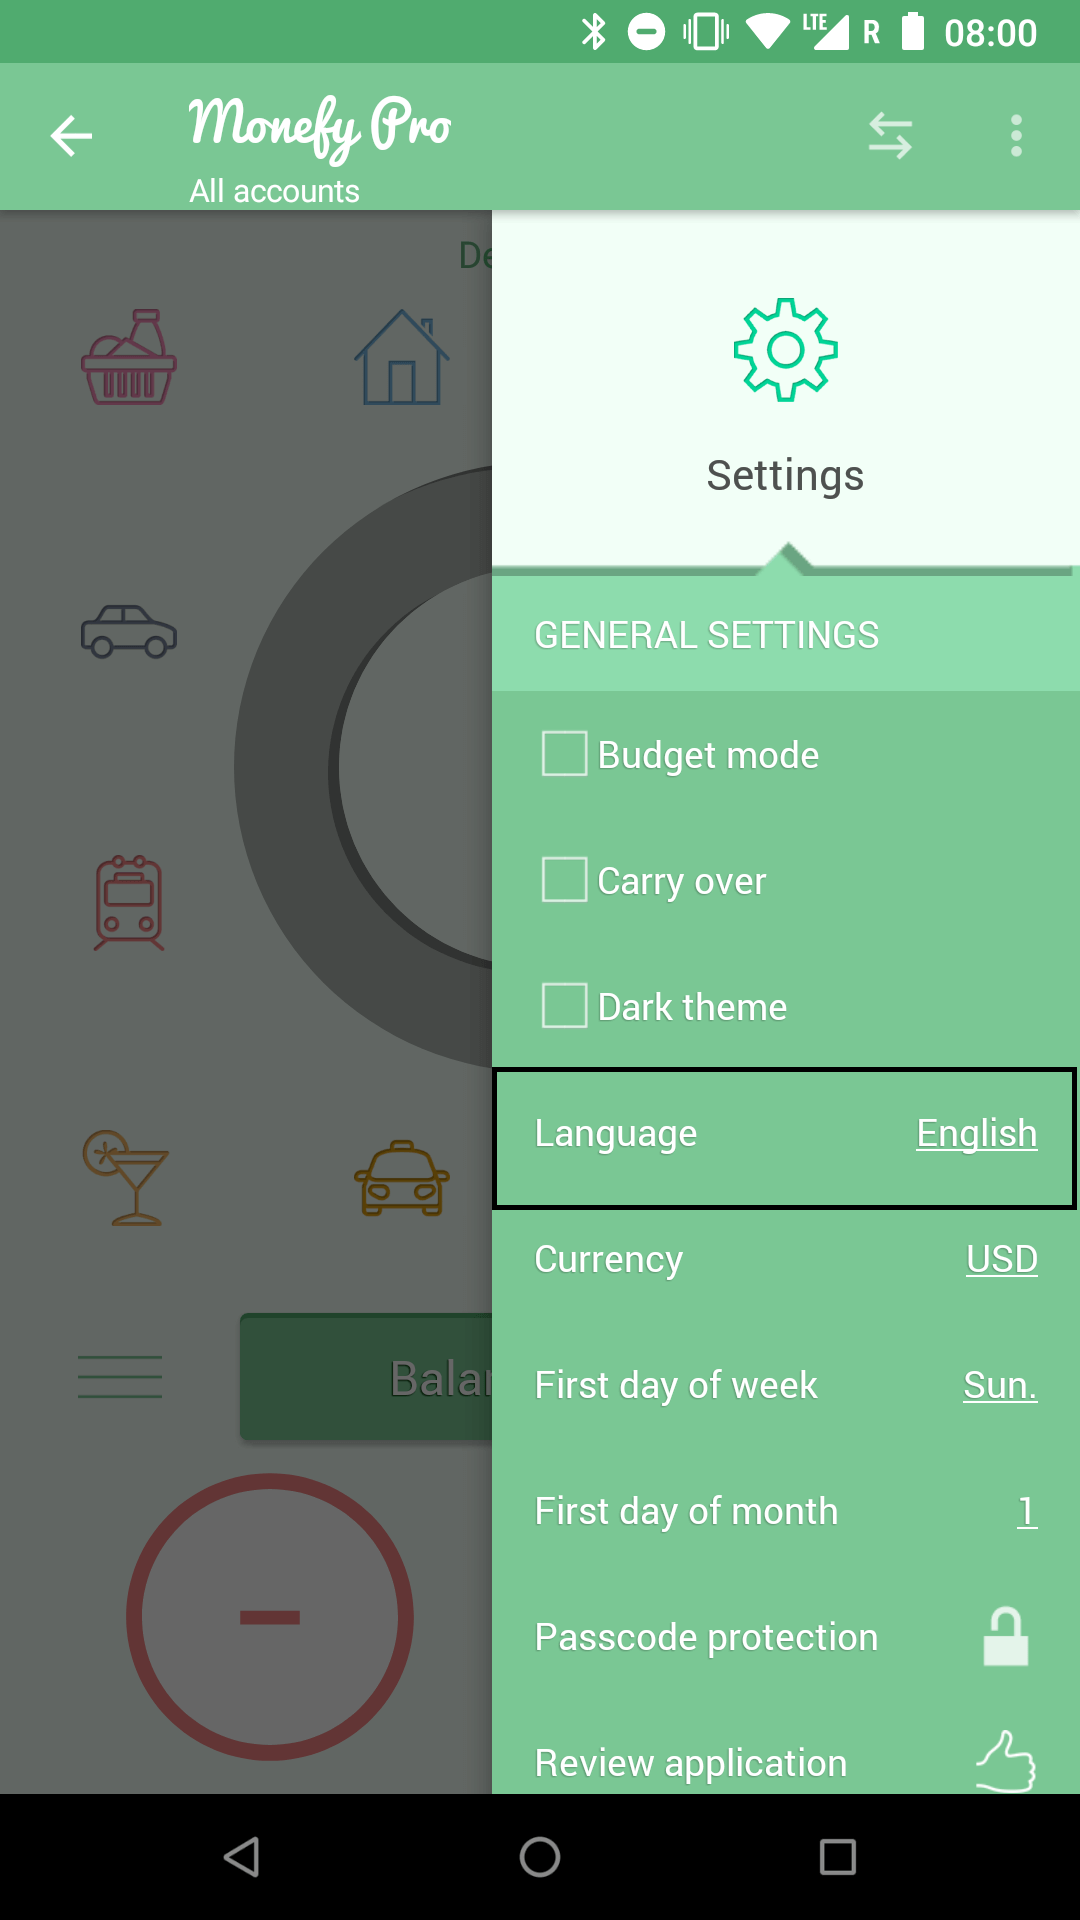
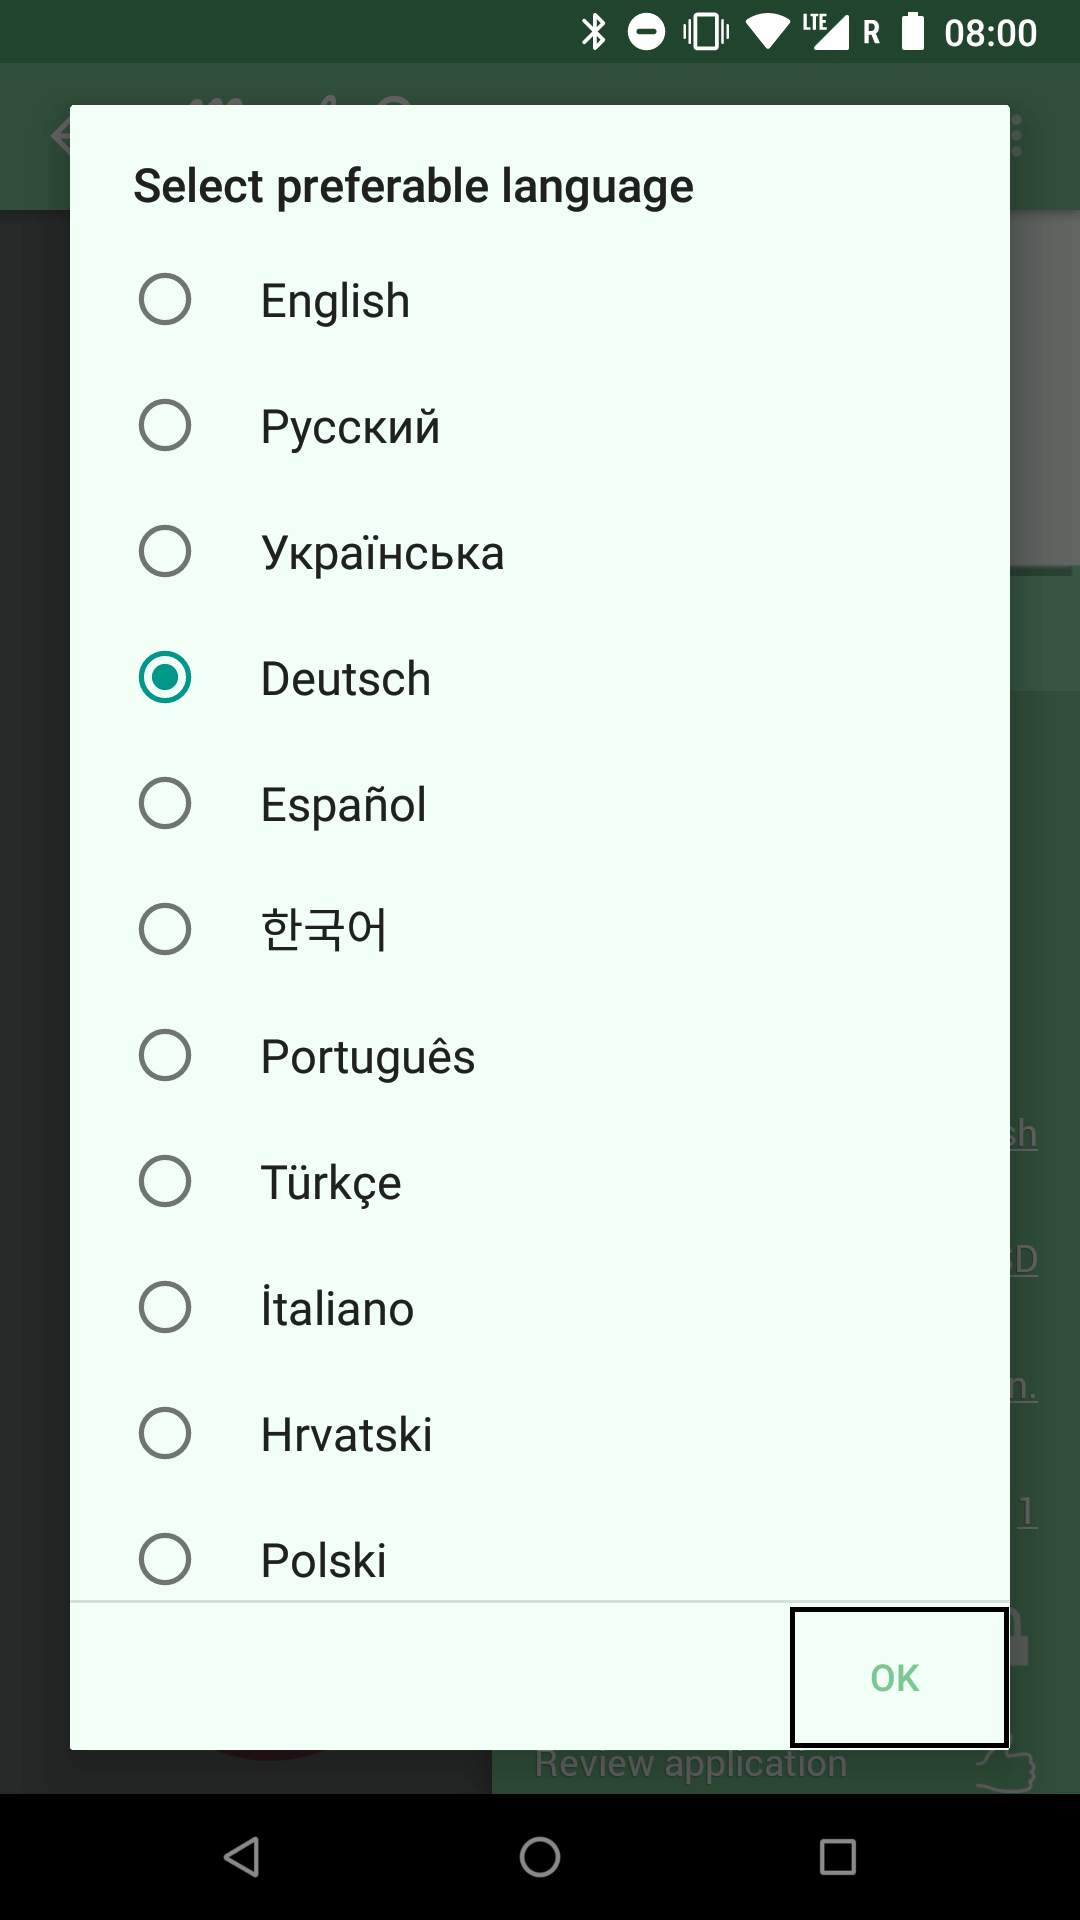
Steps to changing the app language:
- Open up the menu, by tapping on the menu icon in the top right corner;
- Click on the settings tab and tap on the "Language" menu item under “GENERAL SETTINGS” section;
- Find and select the language that you wish to use;
- Confirm the language change by tapping the “OK” button.
❯
Steps to delete application data:
- Open up the menu, by tapping on the menu icon in the top right corner;
- Click on the settings tab and tap on the “Delete database” menu item under “DATA BACKUP” section;
- Confirm by tapping “Yes” button in the confirmation dialog.
This action cannot be reversed and your data will be fully deleted. Please note that remote data in Dropbox and/or Google Drive will also be removed during data deletion.
❯
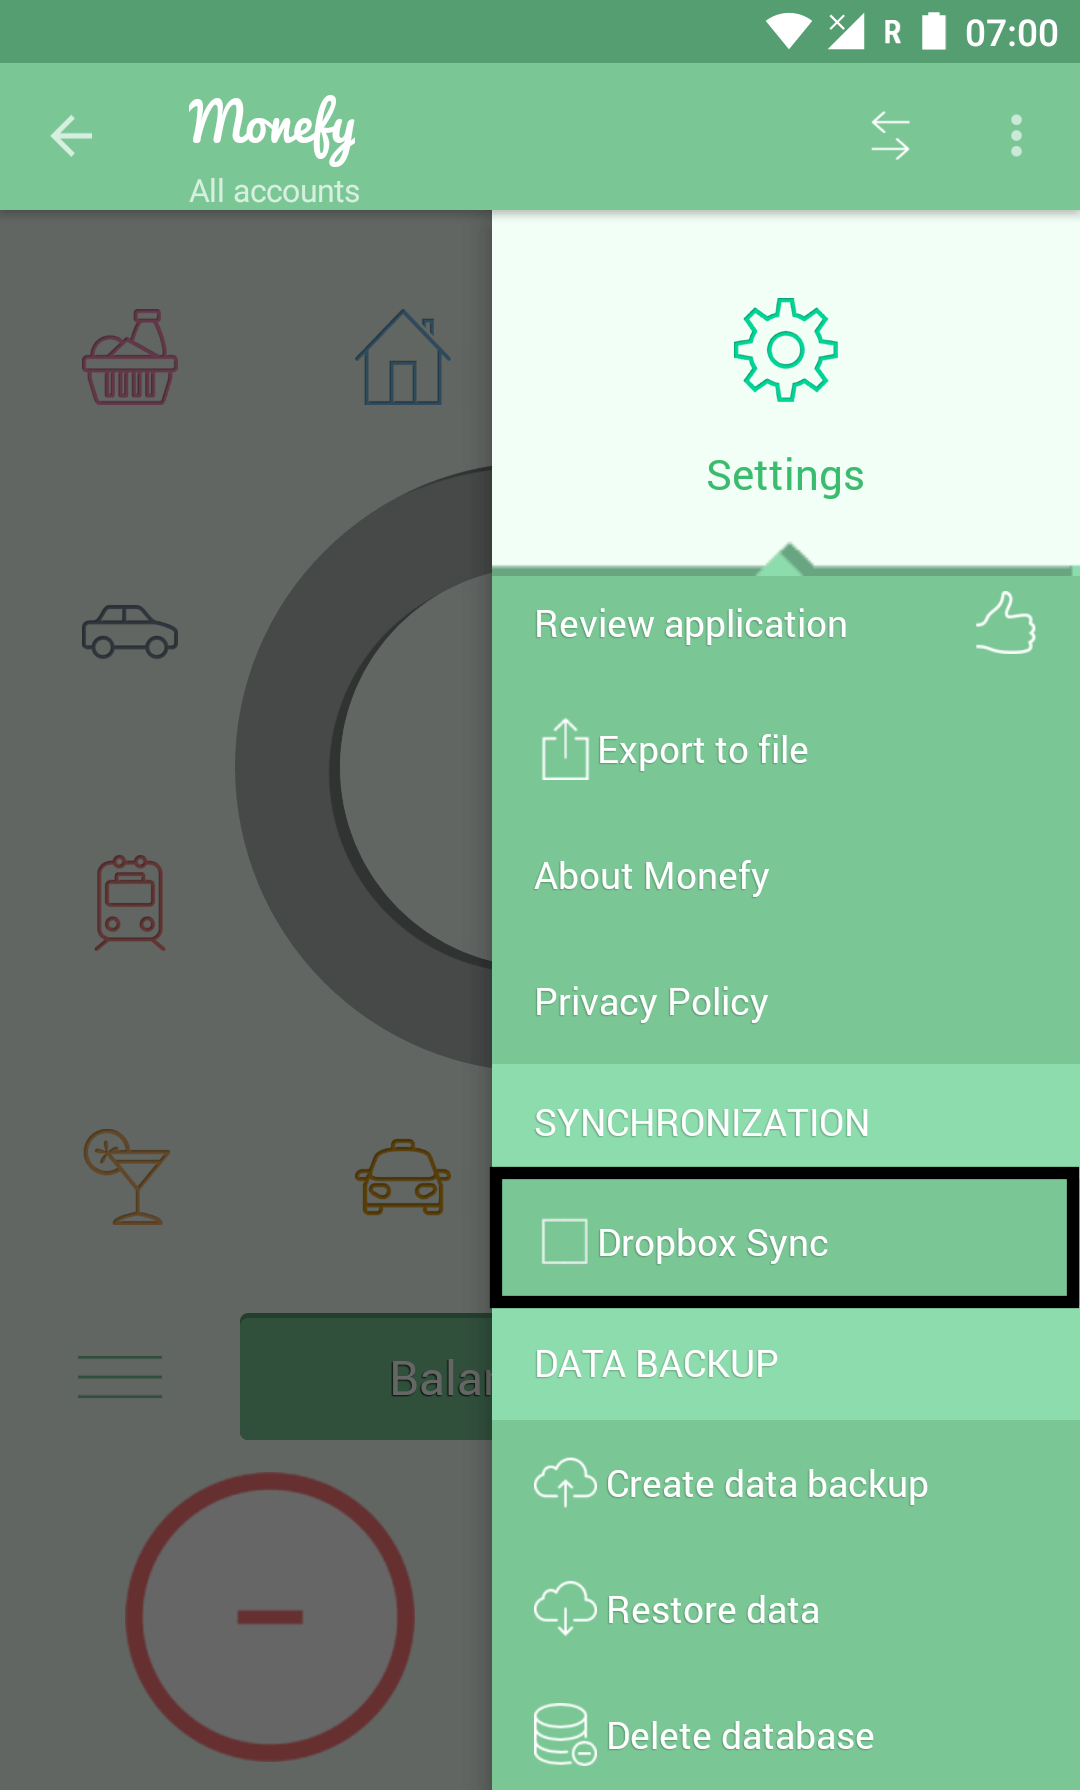
Steps to enable synchronization:
- Create a new Dropbox account, if you do not have one yet;
- Open Monefy and navigate to "Menu" -> ”Settings” -> ”SYNCHRONIZATION” and tick the “Dropbox Sync” check box;
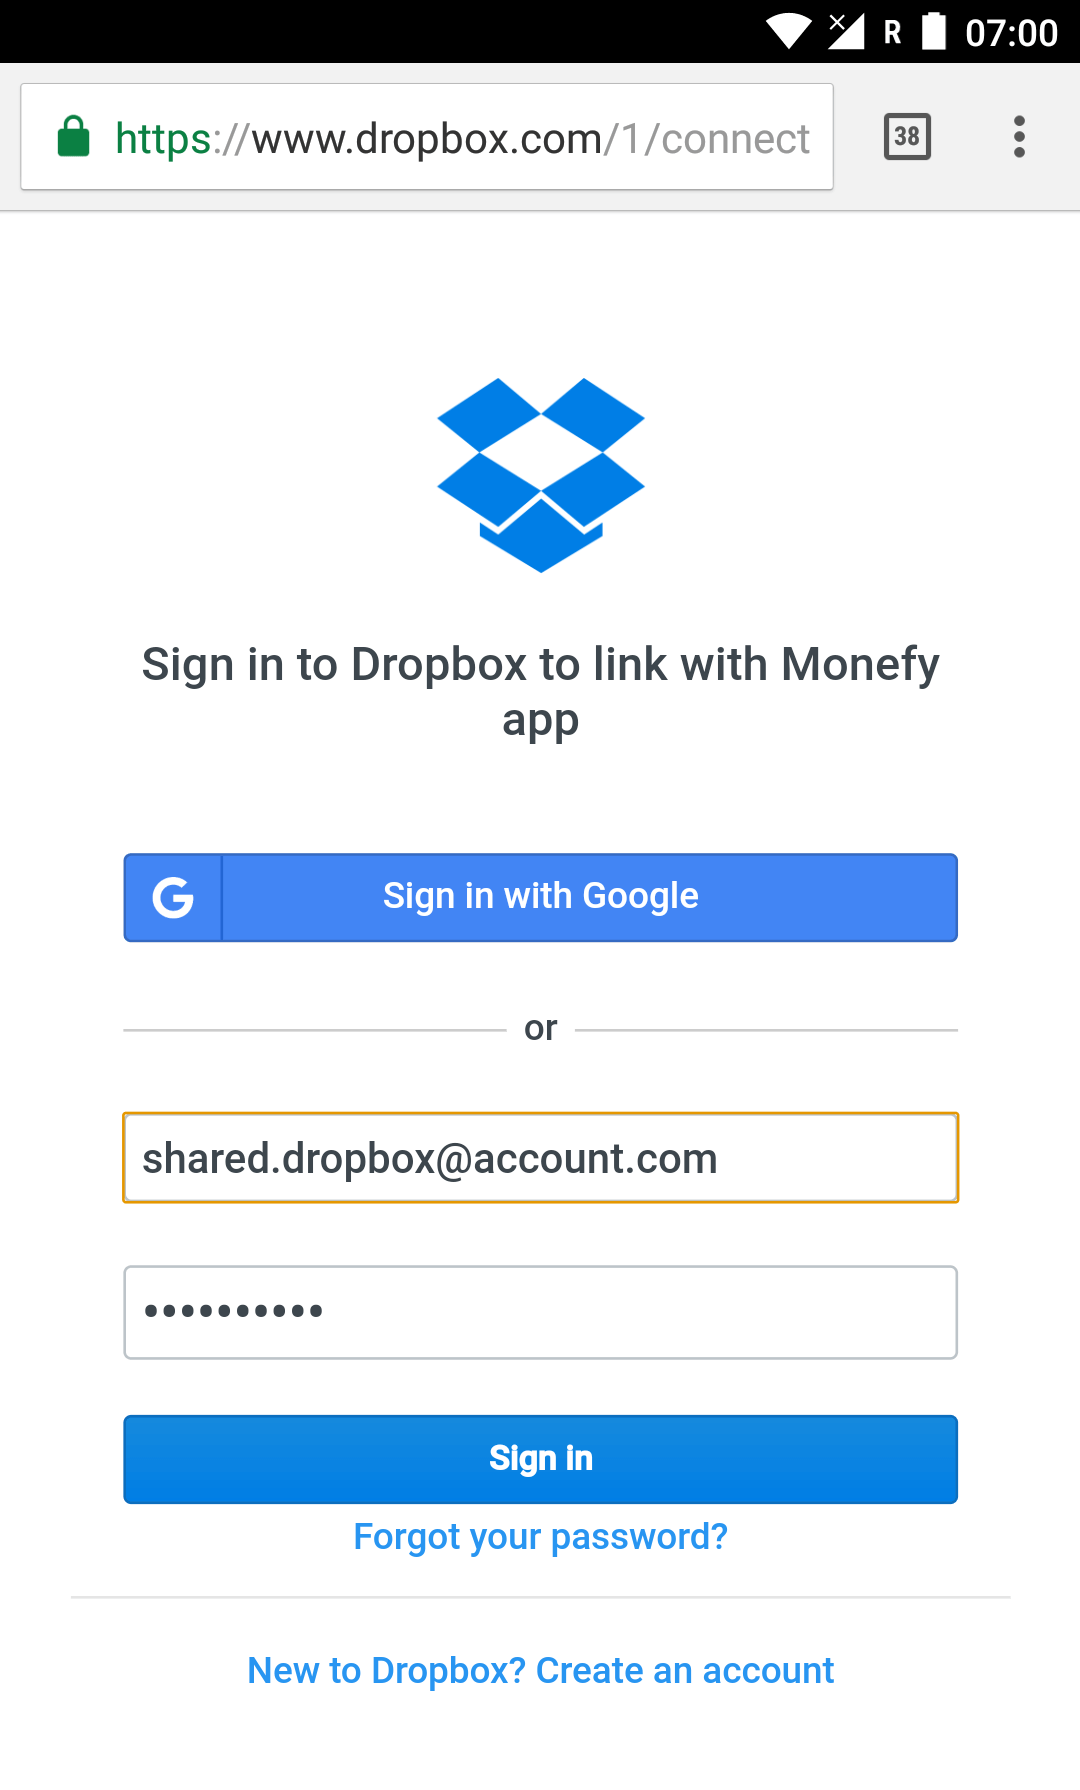
- In the window that pops up, enter your Dropbox account credentials and sign in;
- Dropbox synchronization should now be enabled 🎉
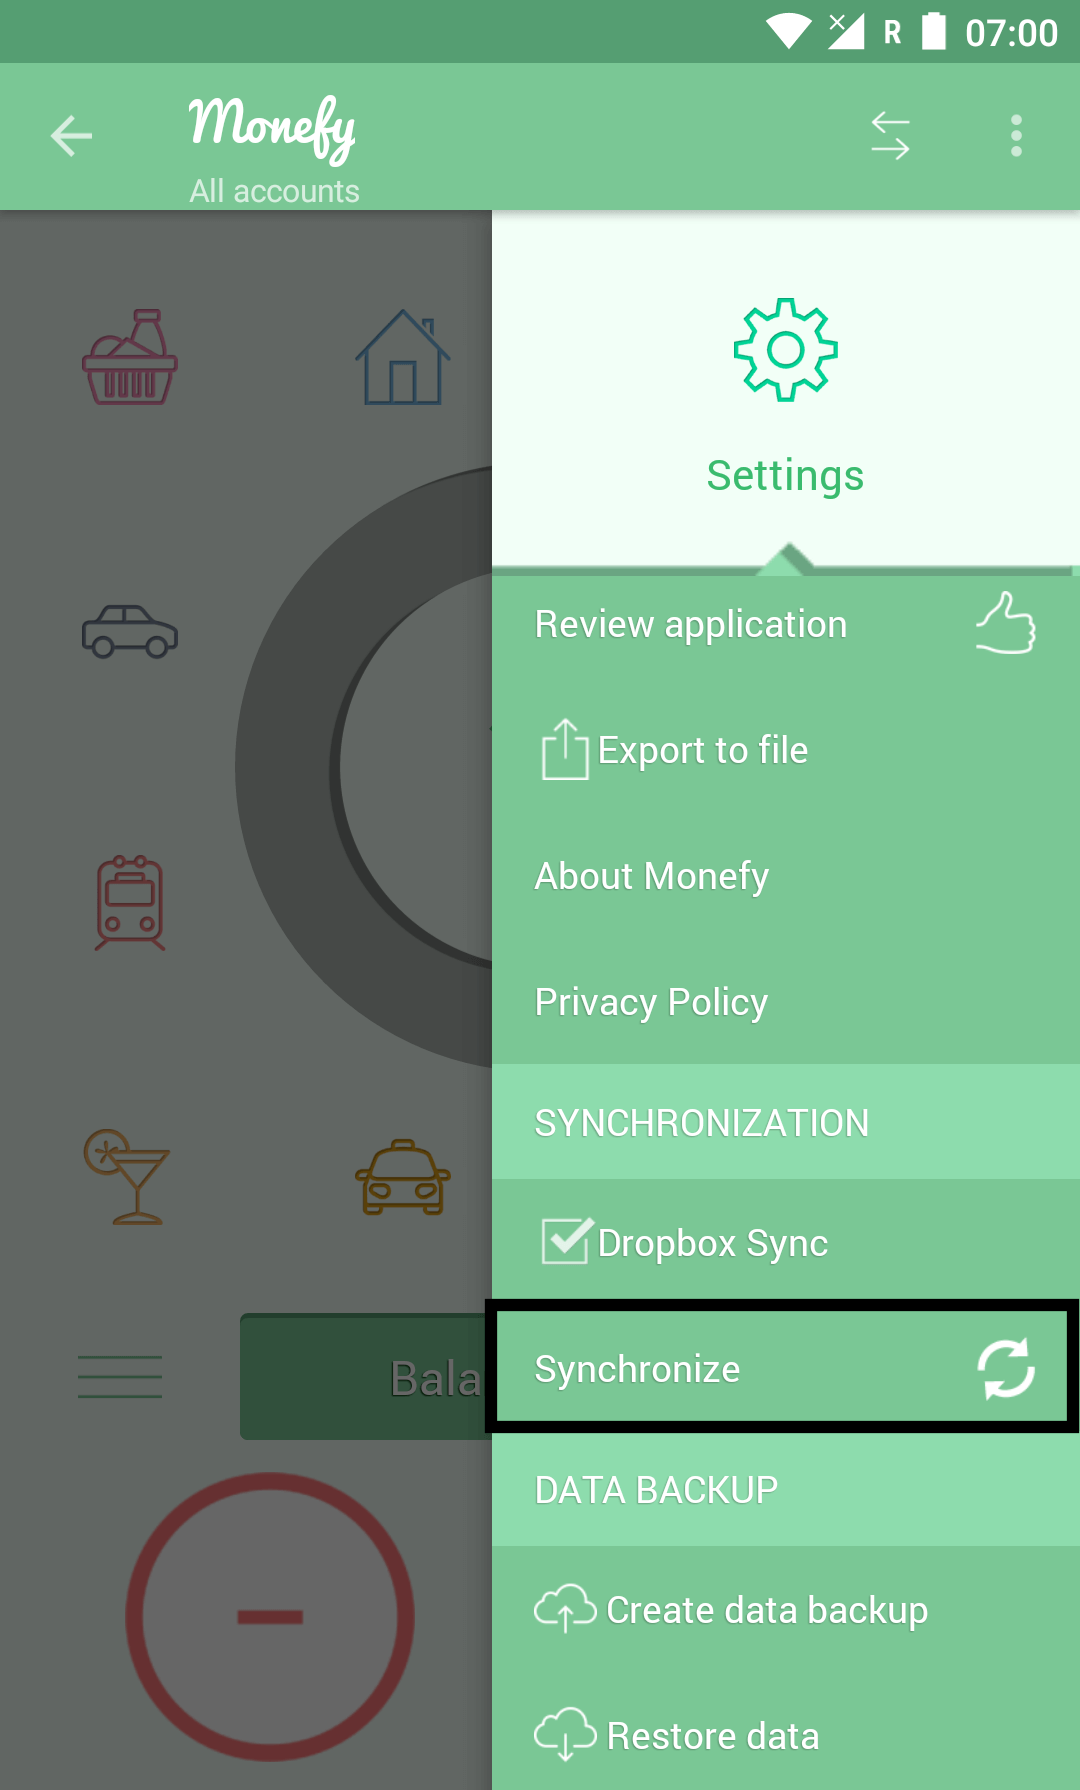
Please note if for some reason you find your data is not being synced to other devices please open Monefy and navigate to ”Menu” -> ”Settings” -> ”SYNCHRONIZATION”. Then, tap the “Synchronize” button - first on the source device and then on the device where data is missing.
Monefy data synchronization is available between all supported platforms. However, at the moment it is only possible to sync data within a single/shared Dropbox account.
Monefy files can be found in the Dropbox folder: home/Apps/Monefy/Database.